

📑 Table of Contents
- Quick Answer
- Why Offline Updates Still Matter in 2025
- Method 1: Offline Update via the Microsoft Update Catalog (.msu Files)
- Method 2: Full Offline Upgrade via Windows 11 ISO
- Which Method Should You Use?
- Preparing the Target PC Before You Start
- Common Errors and How to Fix Them
- Keeping the Offline PC Patched Going Forward
Quick Answer
The Complete Windows 11 Update Authority Guide.
You can update Windows 11 without internet by using the Microsoft Update Catalog to download standalone .msu packages, or by using the official Media Creation Tool / Windows 11 ISO to perform an in-place upgrade.Download the packages on any connected PC, move them via USB, then install them offline. For cumulative updates, grab the latest Servicing Stack Update (SSU) plus the current LCU from the catalog in that order. For a full version jump (like 23H2 to 24H2), the ISO in-place upgrade is the cleaner path.
Why Offline Updates Still Matter in 2025

Not every machine lives on a fast fiber line. I’ve set up Windows 11 on air-gapped workshop PCs, rural laptops running on metered hotspots, and locked-down kiosks where IT policy blocks Windows Update entirely. In each case, the standard “check for updates” button was useless.
The offline route solves this. It’s also the only sane option when you need to patch a dozen machines and don’t want to re-download the same 800MB cumulative update twelve times over a capped connection.
This guide walks through both methods — the surgical .msu approach and the full ISO in-place upgrade — with the exact steps and the traps I’ve hit along the way. If you want the broader picture of how Windows 11 patching works, start with The Complete Windows 11 Update Authority Guide before diving in here.
Method 1: Offline Update via the Microsoft Update Catalog (.msu Files)
This is the precise, low-bandwidth method. You download only the specific patches you need, then install them locally. No ISO, no reinstall, no 5GB download.
Step 1: Identify Your Build and Architecture
On the target PC, press Win + R, type winver, and hit Enter. Note the build number (e.g., 22631.4317 for 23H2). You also need to know whether it’s x64 or ARM64 — almost always x64, but check underSettings → System → About.
Write these down. You’ll match them exactly against the catalog listings.
Step 2: Download the Packages on a Connected PC
On a machine with internet, go to the Microsoft Update Catalog (catalog.update.microsoft.com). Search for Windows 11 plus your version, e.g. “Windows 11 23H2 cumulative.”
You’ll see a long list. Sort by Last Updated descending and grab:
- The latest Cumulative Update (LCU) for your build — the big monthly patch
- The latest Servicing Stack Update (SSU) if one is listed separately
Download the .msu files. They’re usually 300–900MB for the LCU and under 50MB for the SSU.
Grab the SSU first, then the LCU. Windows sometimes refuses to install a cumulative update if the servicing stack underneath it is stale. Install order matters — SSU, reboot, then LCU.
Step 3: Transfer and Install
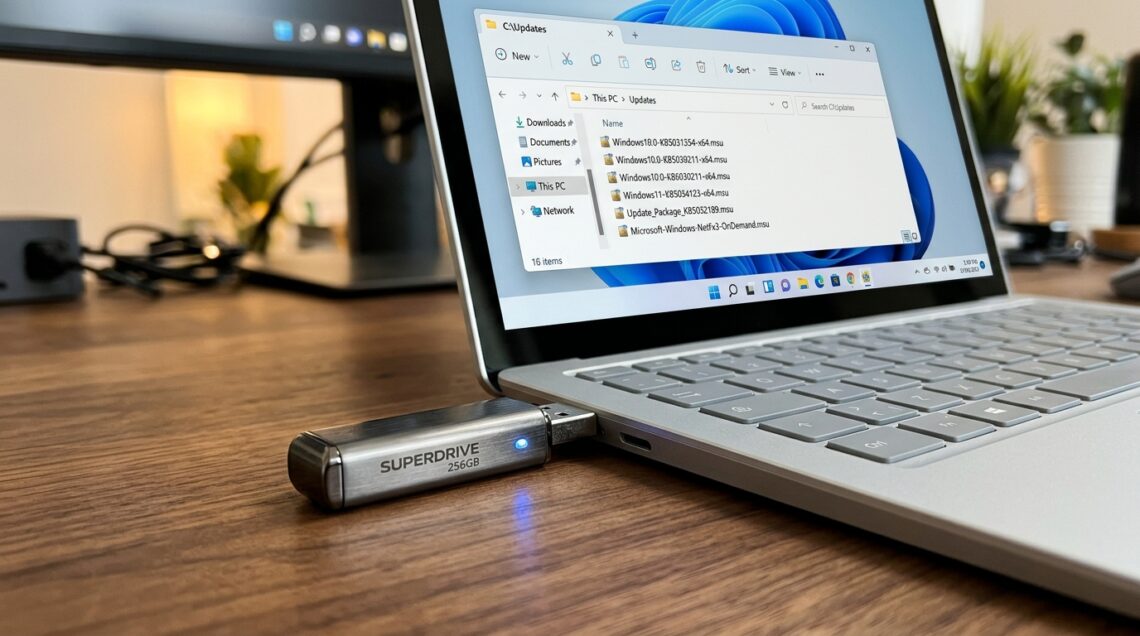
Copy the .msu files to a USB stick. On the offline PC, double-click each .msu in the correct order. The Windows Update Standalone Installer launches, shows a progress bar, and prompts for a restart.
If double-clicking fails or gives a cryptic error, run it from an elevated Command Prompt instead:
wusa.exe "D:\updates\windows11.0-kb5043145-x64.msu" /quiet /norestart
Then reboot manually. The /norestart flag lets you chain multiple packages before the final reboot.
Never install an LCU built for a different build number. A 24H2 cumulative update on a 23H2 machine will fail with error 0x800f081e, and in rare cases it can leave the component store in a messy state. Match the build exactly.
Method 2: Full Offline Upgrade via Windows 11 ISO
When you’re jumping versions — say 22H2 to 24H2 — or the machine is so far behind that stacking twenty cumulative updates is impractical, the ISO in-place upgrade is the better tool. It carries the latest feature update plus all current patches in one shot.
Step 1: Download the ISO
On a connected PC, grab the official ISO from Microsoft’s download page or use the Media Creation Tool. Full direct links for every release are catalogued in Windows 11 Update Download: Direct Links for Every Version — that page saves you hunting through Microsoft’s redirect chains.
The ISO is roughly 5–6GB. Copy it to a USB drive formatted as exFAT or NTFS (FAT32 won’t hold a file that large).
Step 2: Mount and Run Setup
On the offline PC, double-click the ISO to mount it as a virtual drive, then run setup.exe from the root. Choose Keep personal files and apps when prompted — this is an in-place upgrade, not a clean install, so your data stays put.
Setup will check for updates over the network by default. Since you’re offline, it skips that step and proceeds with what’s in the ISO. Expect 30–60 minutes depending on disk speed.
The ISO method is effectively a “slipstreamed” update — Microsoft rebuilds the ISO each month with the latest cumulative updates baked in. If you download a fresh ISO today, you often land on a fully patched build without installing a single .msu. That’s why it’s my default for machines more than two months behind.
Step 3: Verify the Build After Upgrade
Run winveragain. Confirm the build matches what the ISO contained. If it’s lower than expected, the ISO was cached from an older release — re-download to get the current build.
Which Method Should You Use?
The choice hinges on how far behind the machine is and whether you need a version jump. Here’s how the two approaches stack up in practice.
Offline Update Method Comparison:
Both methods work fully offline. The trade-off is download size versus simplicity and version coverage.
| Factor | .msu Catalog Method | Windows 11 ISO Method |
|---|---|---|
| Download size | 300MB–1GB per patch | 5–6GB |
| Handles version jumps | No | Yes |
| Setup complexity | Moderate (order matters) | Low (run setup.exe) |
| Best for | Machines one patch behind | Machines far behind or upgrading versions |
| Data preserved | Yes | Yes (Keep files & apps) |
| Time to complete | 10–20 min | 30–60 min |
- Both require zero internet on the target PC
- Both preserve your files and installed apps
- ISO method patches and upgrades in one pass
- .msu method needs exact build matching
- ISO method is a large download on the source PC
- Neither works if the target PC’s component store is already corrupted
Preparing the Target PC Before You Start
A few minutes of prep prevents most offline install failures. I’ve watched updates fail purely because the system drive had 3GB free and the LCU needed 8GB of working space.
Pre-Update Diagnostic Checklist:
Run through these checks on the offline machine before touching any installer. Each one catches a common failure cause.
| Step | Diagnostic Action | Expected Result | Est. Time |
|---|---|---|---|
| 1 | Check free disk space (Settings → Storage) | At least 20GB free on C: | 1 min |
| 2 | Run sfc /scannow in elevated CMD |
“No integrity violations found” | 5–10 min |
| 3 | Run DISM /Online /Cleanup-Image /RestoreHealth |
Operation completed successfully | 10–15 min |
| 4 | Confirm build via winver |
Matches your downloaded package | 1 min |
| 5 | Suspend antivirus real-time scanning | Scanning paused temporarily | 2 min |
| 6 | Plug laptop into AC power | Charging confirmed | 1 min |
Key Takeaway
A healthy component store is the single biggest predictor of offline update success. Run the SFC and DISM steps first — they take fifteen minutes and save you from error 0x800f081f later.
Common Errors and How to Fix Them
Offline installs fail differently than online ones. Without a network, Windows can’t fetch missing components automatically, so errors surface faster and with less context. Here are the ones I hit most often.
Error 0x800f081e — Package Not Applicable
You grabbed the wrong build’s cumulative update. Re-check winver and match the catalog listing’s “Products” and “Classification” columns precisely. A 23H2 package won’t install on a 24H2 machine.
Error 0x800f0922 — Insufficient Space or .NET Issue
Usually a disk space problem, occasionally a corrupted .NET Framework component. Free up space first. If it persists, run the DISM RestoreHealth command from the checklist above.
ISO Setup Blocks with “This PC Can’t Run Windows 11”
This is the TPM 2.0 / Secure Boot check firing. If the hardware genuinely supports Windows 11, enable TPM and Secure Boot in BIOS. If you’re deliberately bypassing requirements on older hardware, that’s a separate conversation — and Microsoft now warns those installs won’t receive certain updates.
Important Note
Machines running Windows 11 on unsupported hardware (bypassed TPM/Secure Boot) may stop receiving cumulative updates entirely starting with 24H2. If your offline PC falls into this category, test a single .msu install before planning a fleet-wide rollout.
Keeping the Offline PC Patched Going Forward
Offline updates aren’t a one-time task. Cumulative updates ship every second Tuesday, and skipping several months means stacking patches — which is where failures multiply.
My routine: check the Microsoft Update Catalog once a month from a connected PC, download the current LCU, and push it to the offline machine within a week. For a handful of machines, that’s a fifteen-minute job. For a larger fleet, build a small USB “update kit” with the current LCU, SSU, and a fresh ISO, and refresh it monthly.
If you’d rather do the manual update dance through the GUI on a connected machine, the step-by-step walkthrough lives in How to Check for and Install Windows 11 Updates Manually. Same underlying mechanics, different delivery path.
- The PC is air-gapped or on a metered connection
- Windows Update is blocked by policy
- You’re patching multiple machines from one download
- The machine has a working, unmetered internet connection
- You only need a single small patch and online update works fine
Our Verdict
For a machine one or two patches behind, the .msu catalog method is the cleanest, most precise offline update route. For anything further behind or facing a version jump, the ISO in-place upgrade wins on reliability and simplicity. Keep both tools
Related Guides in this Series
Continue exploring essential tips and companion topics:
- 📊 Windows 11 Update History: How to Review and Audit Installed Updates — Audit installed KBs, review driver installation logs, and use PowerShell Get-HotFix.
- 🔧 Windows 11 Update Registry and Group Policy: Advanced Control Methods — Pro and Enterprise configurations: AUOptions, NoAutoRebootWithLoggedOnUsers, and WSUS.