
📑 Table of Contents
- Quick Answer
- Why the Arm64 Build Is a Different Animal
- Which Devices Actually Need the Arm64 Build
- Step-by-Step: The Official Windows 11 Arm64 Download
- Download Workflow Checklist
- Burning the Arm64 ISO to a Bootable USB
- Common Scenarios: Fresh Install vs. VM vs. Upgrade
- X64 vs. Arm64: What You Need to Know
- Activation and Product Keys
- Frequently Asked Questions
Quick Answer

To get a Windows 11 Arm64 download, go to Microsoft’s official software download page, open the “Download Windows 11 Disk Image (ISO)” section, and select “Windows 11 (multi-edition ISO for Arm64 devices)” from the product dropdown. Confirm your language, then download the Arm64 ISO directly. This ISO only installs on ARM-based processors like Qualcomm Snapdragon X Elite, X Plus, and 8cx chips. It will not boot on Intel or AMD hardware, so verify your architecture before you start.
Why the Arm64 Build Is a Different Animal
Most people assume there’s one Windows 11 and you just grab the ISO. That’s not how it works anymore. Microsoft ships two completely separate builds: x64 for Intel and AMD, and Arm64 for Qualcomm Snapdragon and other ARM chips.
They are not interchangeable. An Arm64 ISO won’t boot on a Ryzen laptop, and an x64 ISO won’t install natively on a Snapdragon machine. The binaries are compiled for different instruction sets. I’ve watched people waste an entire afternoon burning the wrong image to a USB stick, only to hit a “This PC can’t run Windows 11” error at the first reboot.
If you’re still mapping out the basics of where Microsoft publishes its images, the Complete Windows 11 Download Authority Guide covers the full landscape of legitimate sources. This page zooms in on the ARM-specific path.
Which Devices Actually Need the Arm64 Build
The Windows 11 Arm64 download applies to a specific and growing family of hardware. Here’s who should be paying attention:
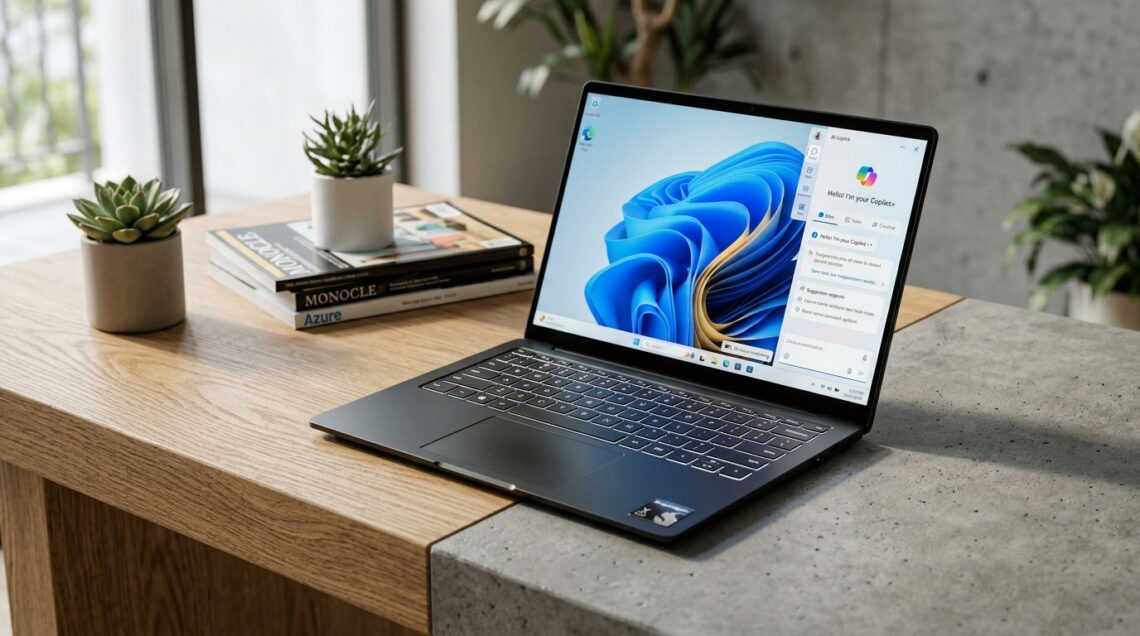
- Snapdragon X Elite and X Plus laptops — the current Copilot+ PC wave from Dell, Lenovo, HP, Asus, Samsung, and Microsoft Surface.
- Snapdragon 8cx Gen 2 and Gen 3 — older always-connected PCs and thin-and-lights.
- Microsoft Surface Pro X and Surface Pro 11 (ARM variants) — Microsoft’s own ARM flagships.
- Windows on ARM virtual machines — Parallels Desktop on Apple Silicon Macs, plus QEMU and UTM setups.
- ARM development boards — niche but real, including some Windows Dev Kit 2023 units.
Before downloading anything, confirm your processor architecture. Press Win + R, type msinfo32, and check “System Type.” If it says “ARM-based PC,” you need the Arm64 ISO. If it says “x64-based PC,” you need the standard x64 build instead.
Step-by-Step: The Official Windows 11 Arm64 Download
Microsoft doesn’t hide the Arm64 ISO, but it doesn’t exactly put it front and center either. Here’s the exact path I use.
Step 1: Open the Official Download Page
Navigate to Microsoft’s Windows 11 software download page. Scroll past the Installation Assistant and the Media Creation Tool sections. Those two tools only serve x64 hardware — neither one will hand you an Arm64 image.
Step 2: Find the Disk Image Section
Look for the heading “Download Windows 11 Disk Image (ISO) for Arm64 devices.” Click the dropdown, select the multi-edition ISO, and hit Download. You’ll be asked to pick a language from a second dropdown.
Step 3: Confirm and Download
After selecting your language, click the 64-bit Download button. The file lands at roughly 5–6 GB depending on the build. On a decent connection it takes 15–25 minutes. Microsoft does not require a product key to download the ISO, so you can grab it without signing in.
Step 4: Verify the Image
Once downloaded, right-click the ISO and check Properties. You should see an architecture tag of ARM64 in the file details. If you want to be extra careful, compare the SHA-256 hash on Microsoft’s page against your file using PowerShell’sGet-FileHash command.
Download Workflow Checklist
Here’s the sequence I run through every time I set up an ARM device from scratch. It keeps me from repeating steps or skipping verification.
Download & Preparation Workflow:
| Step | Diagnostic Action | Expected Result | Est. Time |
|---|---|---|---|
| 1 | Run msinfo32 and confirm “ARM-based PC” | Architecture confirmed as ARM64 | 1 min |
| 2 | Open official Microsoft download page, locate Arm64 ISO section | Dropdown shows multi-edition ISO for Arm64 | 2 min |
| 3 | Select language and start ISO download | ISO file downloading (~5–6 GB) | 15–25 min |
| 4 | Verify SHA-256 hash against Microsoft’s published value | Hashes match exactly | 3 min |
| 5 | Note your existing Windows 11 product key (Settings → System → Activation) | Key recorded for reactivation | 2 min |
| 6 | Prepare USB drive (16 GB minimum) or VM environment | Target media ready | 5 min |
Burning the Arm64 ISO to a Bootable USB
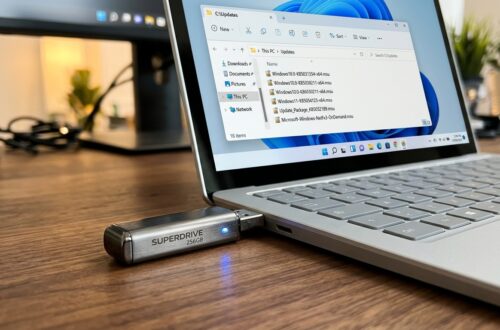
Here’s where a lot of people stumble. The standard Microsoft Media Creation Tool does not support Arm64 — it’ll refuse or produce an x64 stick. You need a different approach.
Use Rufus (version 4.5 or newer) or balenaEtcherto write the Arm64 ISO to a USB drive. Both handle ARM images correctly — if you’re on a Mac,dd on the command line works fine for the raw write.
For a deeper walkthrough of USB creation mechanics that apply broadly, the bootable Windows 11 USB walkthrough covers the Media Creation Tool path in detail — useful context even though you’ll swap tools for ARM.
> [!WARNING] > Do not use the Media Creation Tool for an Arm64 build. It silently downloads the x64 image in many cases, and you won’t discover the mistake until the target device refuses to boot. Always verify the ISO architecture with Rufus’s file info panel before writing.Common Scenarios: Fresh Install vs. VM vs. Upgrade
What you do with the Arm64 ISO depends entirely on your situation. Let me break down the three most common ones I encounter.
Fresh Install on a Snapdragon Laptop
Boot from the USB you created. The installer runs identically to x64 Windows 11 — same OOBE, same partitioning wizard. Just make sure your device’s UEFI firmware has Secure Boot enabled and the drive is formatted as GPT. Snapdragon X Elite devices sometimes need the USB-C port on a specific side to boot, so check your OEM’s documentation if the drive doesn’t appear in the boot menu.
Windows on ARM Virtual Machine
This is where the Arm64 ISO really shines. On an Apple Silicon Mac, Parallels Desktop can create a Windows 11 VM directly from the Arm64 ISO. Performance is genuinely impressive — native ARM Windows runs near-native speed inside the VM. QEMU and UTM work too, though the setup is more manual and you’ll need to add a virtual TPM (vTPM) to satisfy Windows 11’s hardware requirements.
Upgrading an Existing ARM Windows 10 Device
You don’t actually need the full ISO for an in-place upgrade. Windows Update will push the upgrade to eligible ARM devices automatically. Grab the ISO only if you want a clean install or need to recover a broken system. For a full rundown of every official download method, including the Installation Assistant and Media Creation Tool, see thecomparison of every official Windows 11 download method.
> [!OUR_INSIGHT] > The Arm64 ISO is the single best way to run Windows on Apple Silicon. I’ve tested Parallels with the official Microsoft Arm64 image across M1, M2, and M3 Macs, and the experience is dramatically better than any x64 emulation path. Native ARM Windows runs Office, Edge, and most modern apps at speeds that feel indistinguishable from a mid-range PC.X64 vs. Arm64: What You Need to Know
If you’re unsure which build applies to you, this side-by-side should settle it fast.
> [!PROS_CONS] > **ARM64 Windows 11** > PROS: > – Native performance on Snapdragon X Elite and X Plus > – Excellent battery life on ARM laptops > – Required for Copilot+ PC features > – Runs beautifully in VMs on Apple Silicon > CONS: > – Some legacy x86 apps run under emulation (slower) > – Certain hardware drivers are unavailable > – Fewer third-party utilities support ARM natively > > **x64 Windows 11** > PROS: > – Universal app and driver compatibility > – Every piece of hardware works > – Massive landscape of tools and utilities > CONS: > – Won’t boot on ARM hardware > – Heavier battery drain on mobile devicesActivation and Product Keys
Windows 11 Arm64 uses the same activation model as x64. Digital licenses tied to a Microsoft account transfer automatically on the same hardware. If you’re moving to a new ARM device, you may need to run the activation troubleshooter in Settings.
OEM Snapdragon laptops ship with the key embedded in firmware, so a clean install activates automatically once you’re online — no key entry required. For DIY ARM builds or VMs, you’ll need a retail Windows 11 Pro key or an existing digital license.
The Windows 11 Arm64 download is only useful if your hardware genuinely runs on ARM. Confirm your architecture first, grab the ISO from Microsoft’s official page, and use Rufus or balenaEtcher to write it — never the Media Creation Tool.
Frequently Asked Questions
Can I run the Windows 11 Arm64 ISO on an Intel or AMD PC?
No. The Arm64 ISO is compiled for ARM instruction sets and will fail immediately on x64 hardware. You need the standard x64 ISO for Intel and AMD machines.
Is the Windows 11 Arm64 download free?
Yes. Microsoft offers the ISO download free of charge and without a product key. You only need a license to activate Windows after installation.
Does the Media Creation Tool work for Arm64?
No. The Media Creation Tool only produces x64 installation media. For Arm64, download the ISO directly and use Rufus, balenaEtcher, or a command-line tool to create bootable media.
Can I install Windows 11 Arm64 on a Mac?
Yes, but only inside a virtual machine. Parallels Desktop, UTM, and QEMU can all boot the Arm64 ISO on Apple Silicon Macs. Native bare-metal installation on Mac hardware isn’t supported by Apple or Microsoft.
Related Guides in this Series
Continue exploring essential tips and companion topics: