
📑 Table of Contents
- Quick Answer
- Why the Windows 11 Requirements Trip People Up
- The Full Windows 11 Requirements List
- TPM 2.0: What It Is and How to Check Yours
- Secure Boot: Enabling It Without Breaking Your Boot
- Running the Official Compatibility Check
- When Your CPU Isn’t on the List
- Virtual Machines and Clean Installs
- Common Compatibility Failures and Fixes
- Upgrade Paths: Which One Fits Your Situation
- Bottom Line
- Frequently Asked Questions
Quick Answer
To install Windows 11 you need a 64-bit processor at 1 GHz or faster with two or more cores, 4 GB of RAM, 64 GB of storage, UEFI firmware with Secure Boot enabled, and TPM version 2.0. Your GPU must support DirectX 12 with WDDM 2.0, and the display needs to be at least 9 inches diagonally at 720p. Microsoft’s PC Health Check app confirms compatibility in about two minutes — and if TPM or Secure Boot fails, most machines can be fixed by flipping two settings in BIOS rather than buying new hardware.
Why the Windows 11 Requirements Trip People Up
The Windows 11 requirements aren’t unusual in themselves. What catches people is the firmware layer. RAM and storage are easy to check from Settings. TPM and Secure Boot live inside the motherboard’s UEFI, and many users have never opened that screen in their lives.
I’ve run the upgrade on roughly thirty machines over the past few years — office desktops, gaming rigs, aging laptops, a couple of refurbished ThinkPads. The pattern is consistent — failing hardware is rare. Disabled firmware features are common. On one batch of five-year-old business desktops, every single machine had TPM 2.0 built in but switched off at the factory.
So treat this guide as a firmware walkthrough first and a spec sheet second. If you’re still deciding how to get the installer itself, start with The Complete Windows 11 Download Authority Guide and come back here once you know your hardware qualifies.
The Full Windows 11 Requirements List
Here’s what Microsoft actually enforces during setup. Anything marked “hard block” will stop the installer cold.
Official Windows 11 hardware requirements at a glance:
| Component | Minimum Requirement | Enforcement |
|---|---|---|
| Processor | 64-bit, 1 GHz+, 2+ cores, on Microsoft’s supported CPU list | Hard block (CPU model check) |
| RAM | 4 GB | Hard block |
| Storage | 64 GB or larger | Hard block |
| System firmware | UEFI, Secure Boot capable | Hard block |
| TPM | Version 2.0 | Hard block |
| Graphics | DirectX 12 with WDDM 2.0 driver | Soft check |
| Display | 9-inch diagonal, 720p HD | Soft check |
| Internet | Required for setup and updates on Home | Enforced at OOBE |
Two details deserve emphasis. First, the CPU list matters as much as the raw clock speed — a fast but unsupported chip still gets blocked. Second, the internet requirement is real. Windows 11 Home will not let you finish setup without a network connection and a Microsoft account.
TPM 2.0: What It Is and How to Check Yours
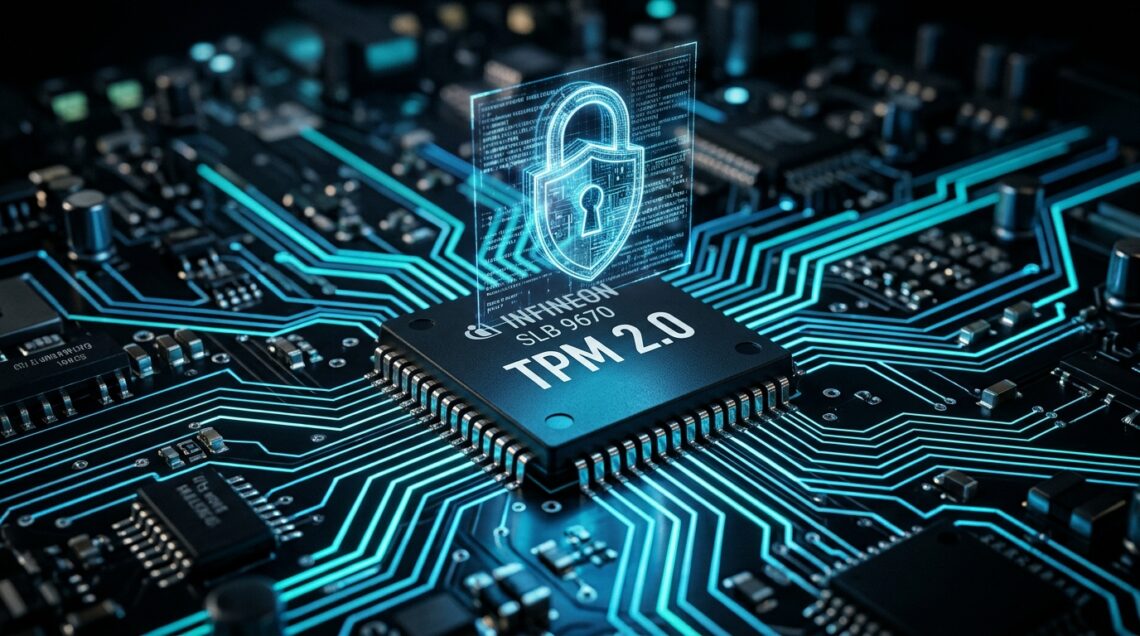
A TPM is a small security chip — sometimes a discrete module on the motherboard, more often firmware baked into the CPU. It stores encryption keys for BitLocker and handles cryptographic operations for Windows Hello and Credential Guard. Windows 11 requires version 2.0 specifically.
Check TPM status in 30 seconds
Press Win + R, type tpm.msc, and hit Enter — the status pane tells you everything. “The TPM is ready for use” with a specification version of 2.0 means you’re done. If you see “Compatible TPM cannot be found,” the chip is either disabled in BIOS or genuinely absent.
You can also run Get-Tpm in an elevated PowerShell window. I prefer this method during bulk checks because it returns a clean text output you can compare across machines.
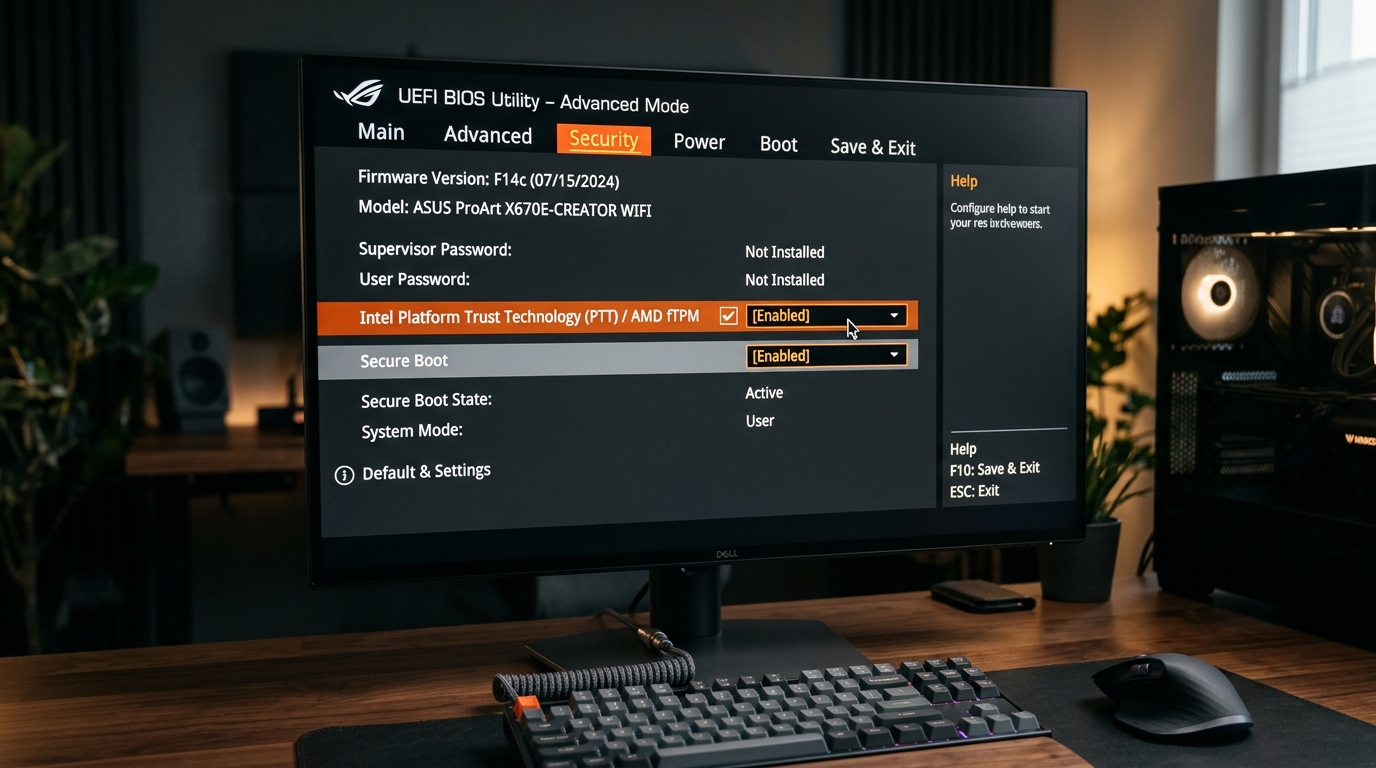
On Intel boards, the TPM setting is usually called “PTT” (Platform Trust Technology) or “Intel PTT.” On AMD boards, look for “fTPM” or “AMD CPU fTPM.” Searching BIOS for “TPM” by name often fails because manufacturers hide it under the vendor-specific label.
If TPM is missing or disabled
Reboot into BIOS — usually F2, F10, Del, or Esc during POST. Find the Security section, enable the firmware TPM option, save, and exit. On a Dell OptiPlex I tested last spring, this took under a minute and the machine passed the health check immediately afterward.
Discrete TPM modules are a fallback for older boards that lack firmware TPM support. They cost around $20–40, but availability is spotty and you must match the motherboard vendor’s pin layout exactly. Check your manual before ordering.
Secure Boot: Enabling It Without Breaking Your Boot
Secure Boot verifies that bootloaders and drivers are signed before they run. Windows 11 requires the capability to be present and enabled. The catch: you can only enable Secure Boot when your drive uses the GPT partition style and boots in UEFI mode — not legacy BIOS/MBR.
Run msinfo32and check the “BIOS Mode” line. If it says UEFI, you’re in good shape. If it says Legacy, you’ll need to convert the disk withMBR2GPT before Secure Boot will stick. I’ve seen people toggle Secure Boot on, reboot, and land on a “no bootable device” screen because they skipped this check.
Before converting a drive from MBR to GPT, back up your data and confirm BitLocker is suspended. The conversion itself is usually clean, but a failed attempt on a full drive can leave the system unbootable.
Running the Official Compatibility Check
Microsoft’s PC Health Check app is the fastest way to get a verdict. Download it, run it, and click “Check now.” A pass gives you a green light. A fail shows exactly which requirement broke — which is genuinely useful, because it saves you from guessing.
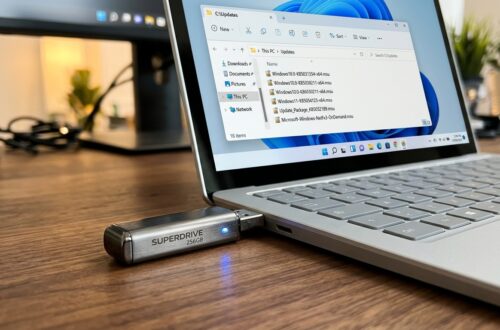
Third-party tools like WhyNotWin11 go further and list each check individually with pass/fail status. I keep a copy on a USB stick for client visits. It’s the difference between “your PC isn’t compatible” and “your PC needs TPM enabled, everything else is fine.”
Diagnostic Checklist & Quick Action Workflow:
Work through these steps in order. Each one takes a minute or less, and you’ll know your full compatibility picture before touching any installer.
| Step | Diagnostic Action | Expected Result | Est. Time |
|---|---|---|---|
| 1 | Run PC Health Check or WhyNotWin11 | Pass/fail verdict per requirement | 2 min |
| 2 | Open tpm.msc | TPM 2.0 present and ready | 30 sec |
| 3 | Check BIOS Mode in msinfo32 | UEFI, not Legacy | 30 sec |
| 4 | Verify Secure Boot state in BIOS | Enabled and active | 2 min |
| 5 | Confirm RAM and free storage in Settings | 4 GB+ RAM, 64 GB+ free | 1 min |
| 6 | Cross-check CPU against Microsoft’s list | Processor model listed as supported | 2 min |
When Your CPU Isn’t on the List
This is the one requirement with no clean fix. Microsoft drew a hard line at 8th-gen Intel and AMD Ryzen 2000, with a handful of exceptions. Older chips that are otherwise fast — a 7th-gen i7, for instance — get blocked despite having TPM 2.0 and Secure Boot.
Bypass methods exist. The LabConfigregistry tweaks and the Rufus “extended Windows 11 installation” option both work, and I’ve tested both. They install fine. The honest caveat: unsupported machines don’t receive guaranteed driver or security updates, and Microsoft has signaled it may tighten enforcement. For a secondary machine, that’s a reasonable trade. For a work laptop holding client data, it isn’t.
Virtual Machines and Clean Installs
Testing in a VM changes the rules slightly. Hyper-V and VMware can both present a virtual TPM 2.0, but you must enable it in the VM settings before boot or setup will refuse to continue. Generation 2 VMs in Hyper-V are required — Generation 1 won’t work at all.
For physical installs, once your hardware passes, the next step is building installation media. Our bootable USB walkthrough with the Media Creation Tool covers the exact steps, and if you’d rather compare download routes first, the breakdown of every official download method explains when to use the Installation Assistant versus an ISO.
Common Compatibility Failures and Fixes
After enough installs, the failure modes become predictable. Here are the ones I hit most often, with the fix that actually resolved them.
- “This PC can’t run Windows 11” with no detail: Usually TPM disabled. Check
tpm.mscfirst. - TPM found but version 1.2: Firmware update from the motherboard vendor often upgrades it to 2.0. Check their support page.
- Secure Boot greyed out in BIOS: You’re in Legacy mode. Convert the disk to GPT first.
- Setup stalls at “Checking for updates”: Network or Microsoft account issue, not a hardware failure. Disconnect and retry, or use a local account workaround.
- PC Health Check says “Windows 11 is not supported” on a new machine: Rare, but I’ve seen it on pre-built systems shipped with TPM off. Same fix — enable it in BIOS.
Nine out of ten compatibility failures are firmware settings, not hardware limits. Check TPM and Secure Boot before you spend a penny on upgrades.
Upgrade Paths: Which One Fits Your Situation
Your compatibility result determines your route. A fully passing machine can use the Installation Assistant for an in-place upgrade. A machine that passes but needs a clean start is better served by a USB install. A machine that fails on CPU alone is a judgment call about bypasses.
- In-place upgrade keeps apps, files, and settings
- Installation Assistant is a single click for passing machines
- Clean USB install avoids inherited driver conflicts
- In-place upgrades can carry over old driver issues
- Clean installs require full backup and app reinstallation
- CPU bypasses forfeit guaranteed update support
Bottom Line
The Windows 11 requirements look intimidating on paper. In practice, most machines from the last six or seven years pass once you enable two firmware settings. Run the health check, verify TPM 2.0 and Secure Boot, and confirm your CPU is on the list. That’s the whole job.
If everything checks out, head to the complete download authority guide to pick your installation route. If something fails, fix the firmware first — it’s almost always the answer.
Frequently Asked Questions
Can I install Windows 11 without TPM 2.0?
Officially, no. Unofficial bypass methods exist and do work, but Microsoft doesn’t guarantee updates or support
Related Guides in this Series
Continue exploring essential tips and companion topics: