
📑 Table of Contents
Quick Answer
When tackling Windows 11 Download: Every Official Method Explained (Assistant, Media Tool, ISO), double-check your initial diagnostic checkpoints and follow verified steps in sequence before applying persistent modifications. As with any careful setup process, the same discipline of checking and verifying applies to related topics such as AI for Room Measurement.
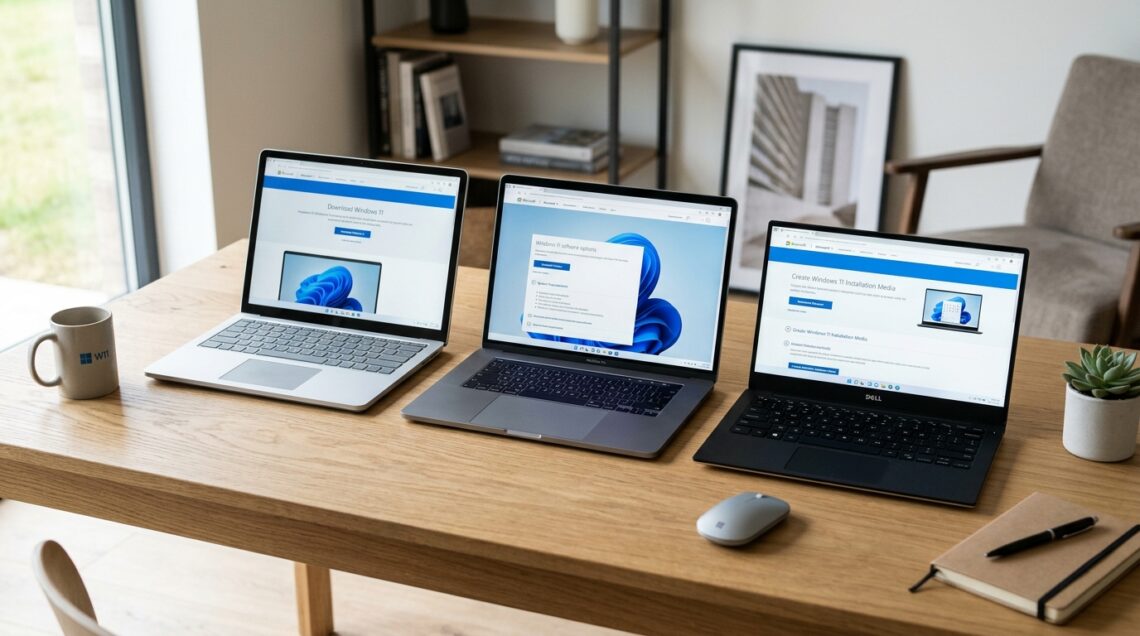
Microsoft offers three official ways to get Windows 11: the Installation Assistant (an in-place upgrade that keeps your files), the Media Creation Tool (which builds bootable USB or DVD installers), and the direct ISO download(a raw image file for advanced users, VMs, and multi-machine installs). All three come from microsoft.com and cost nothing. Choose the Assistant for a simple upgrade on one PC, the Media Creation Tool for a clean install or USB boot, and the ISO when you need architecture control or offline deployment.
Let me be blunt: most “Windows 11 download” pages are an SEO mess of mirror links and shady third-party hosts. That’s a fast track to malware. Microsoft gives you everything you need for free, directly from its own servers. The trick is knowing which of the three official methods fits your situation. I’ve run all three dozens of times on test benches and real client machines, and each one has a clear sweet spot. Here’s the breakdown.
If you want the full landscape first, our The Complete Windows 11 Download Authority Guide covers system requirements, licensing, and activation in depth. This page zooms in on the three download methods themselves.
The Three Official Windows 11 Download Methods at a Glance
Before we go method by method, here’s the side-by-side picture. This table is the fastest way to pick your path.
Official Windows 11 Download Methods Compared:
Each method pulls from the same Microsoft servers, but the download package, the end result, and the ideal use case differ sharply.
| Method | What You Get | Keeps Files & Apps? | Best For | Approx. Size |
|---|---|---|---|---|
| Installation Assistant | In-place upgrade package | Yes (default) | Upgrading one PC from Windows 10 | ~4 GB download |
| Media Creation Tool | Bootable USB or DVD | No (clean install) | Fresh installs, repairing broken PCs | ~5–6 GB |
| ISO Download | Raw .iso image file | No (you decide) | VMs, IT deployment, multi-PC installs | ~5–6 GB |
Method 1: The Windows 11 Installation Assistant
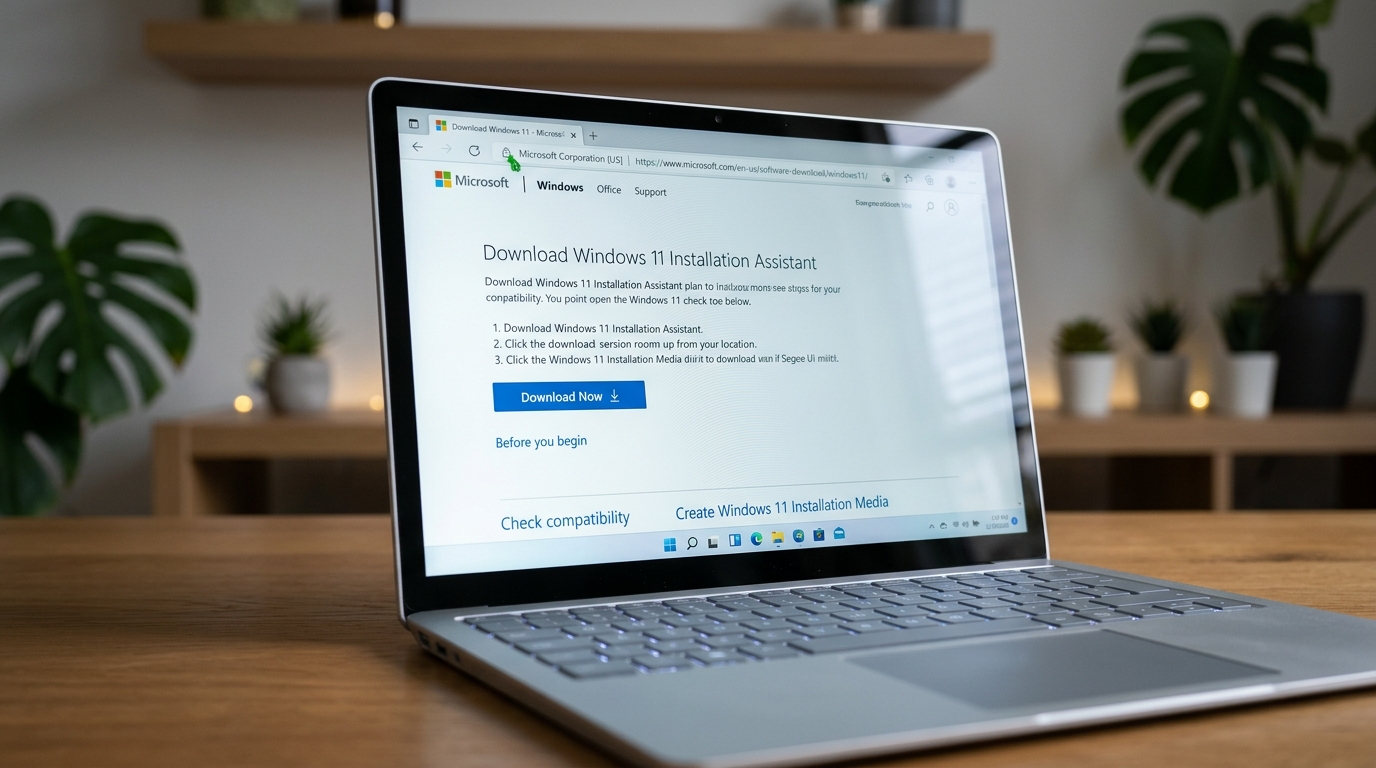
The Installation Assistant is the friendliest option. It’s a small executable that downloads Windows 11, checks your hardware, and upgrades your current PC in place. Your files, apps, and settings stay put. In my experience, a typical upgrade on a modern SSD takes 25 to 40 minutes from launch to the new desktop, with a couple of automatic restarts along the way.
How to run it
- Head to Microsoft’s official Windows 11 download page and click Download Now under “Windows 11 Installation Assistant.”
- Run the downloaded
Windows11InstallationAssistant.exe(accept the UAC prompt). - The tool checks your PC against the Windows 11 requirements. If something fails, it tells you exactly what.
- Accept the license terms and click Install. Now you wait — it downloads and stages the upgrade.
- When prompted, restart. Let it finish without interrupting the power.
Where it falls short
The Assistant refuses to run on unsupported hardware. No TPM 2.0? No Secure Boot? It stops cold. It also can’t do a clean install or build bootable media. That’s not a bug — it’s by design. If you need those things, jump to Method 2 or 3.
> [!IMPORTANT_NOTE] > The Installation Assistant is an upgrade tool, not a rescue tool. If your current Windows install is badly corrupted, upgrading on top of it often carries the problems forward. In that case, a clean install via USB is the smarter move.Method 2: The Media Creation Tool
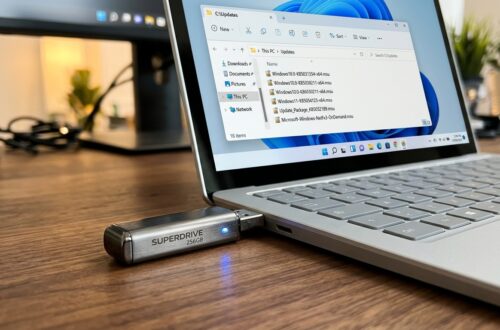
The Media Creation Tool (MCT) downloads Windows 11 and writes it to a USB flash drive or burns a DVD. The result is bootable installation media. This is the workhorse for clean installs, dead-PC rescues, and setting up multiple machines from one stick.
How to run it
- On the official download page, click Download tool now under “Create Windows 11 Installation Media.”
- Run
MediaCreationToolW11.exeand accept the license terms. - Choose your language and edition (match your existing license if you’re reinstalling).
- Select USB flash drive and pick your drive. An 8 GB stick is the minimum; I always use 16 GB or larger for headroom.
- The tool formats the drive, downloads Windows 11, and writes the boot files. Expect 15–30 minutes depending on your connection.
The MCT wipes whatever is on your USB drive, so back up anything important first. Once it finishes, you have a bootable installer you can plug into any compatible PC. For the full step-by-step with BIOS boot order and partitioning, see ourbootable Windows 11 USB walkthrough with the Media Creation Tool.
> [!WARNING] > Never pull the USB drive out mid-write, even if the progress bar looks stuck. Doing so corrupts the media and you’ll be starting over from scratch. Give it time.- Produces bootable media for clean installs and repairs
- Reusable across multiple PCs
- Handles edition and language selection cleanly
- Wipes the target USB drive completely
- Requires a spare 8 GB+ drive
- Slower than the Assistant for a single upgrade
Method 3: The Windows 11 ISO Download
The ISO is the raw installation image — a single file containing the entire Windows 11 setup. Microsoft serves it directly, but only after you select an edition and language. This is the method of choice for virtual machines, IT mass deployment, and anyone who wants full control over how the image gets used.
How to get it
- On the official download page, scroll to “Download Windows 11 Disk Image (ISO).”
- Pick your edition from the dropdown (usually “Windows 11 (multi-edition ISO)”).
- Select your language and confirm. Microsoft generates a time-limited 64-bit download link.
- Download the ISO. It’s roughly 5–6 GB.
Here’s the part that trips people up: the ISO Microsoft hands out on the consumer page is x64 only. If you’re on an ARM device — a Surface Pro X, a Snapdragon laptop — this ISO won’t run natively. You need the ARM64 image, which lives in a different part of Microsoft’s landscape. OurWindows 11 ISO download guide covering x64 vs ARM64 breaks down exactly when each applies.
> [!OUR_INSIGHT] > The ISO link expires. Microsoft generates it fresh each time and it’s valid for about 24 hours. Download it promptly — don’t bookmark it and come back next week expecting it to work. I’ve seen people waste an afternoon on a dead link.What you can do with an ISO
- Mount it in Windows (double-click) to run setup or an in-place upgrade.
- Attach it to a virtual machine in Hyper-V, VMware, or VirtualBox.
- Write it to USB with a third-party tool like Rufus if you want more control than the MCT gives.
- Deploy it across an organization with tools like Windows Deployment Services.
Which Method Should You Actually Pick?
This is the decision most people get stuck on. The honest answer depends on what you’re trying to accomplish, not on which method is “best.”
Method Selection Workflow:
Work through these diagnostic steps in order. The first one that matches your situation is your method.
| Step | Diagnostic Action | Expected Result | Est. Time |
|---|---|---|---|
| 1 | Ask: is your current PC healthy and running Windows 10? | Yes → use Installation Assistant | 30–40 min |
| 2 | Ask: do you need to boot from USB or fix a dead PC? | Yes → use Media Creation Tool | 20–30 min |
| 3 | Ask: are you installing in a VM or deploying to many PCs? | Yes → download the ISO | 15–20 min |
| 4 | Ask: is your device ARM-based (Snapdragon, Surface Pro X)? | Yes → get the ARM64 ISO, not the consumer page | 15–20 min |
Common Mistakes to Avoid
I’ve seen the same errors repeat across forums and client tickets. Here’s the shortlist.
- Downloading from third-party mirrors. Only trust microsoft.com. Anything else is a gamble with your security.
- Ignoring the TPM and Secure Boot check. Windows 11 requires TPM 2.0 and Secure Boot. If your PC fails, the Assistant won’t proceed — and bypass hacks carry real support and security tradeoffs.
- Using a USB drive under 8 GB. The MCT will reject it outright. Use 16 GB to be safe.
- Letting the ISO link expire. Grab it the moment it’s generated.
- Assuming the consumer ISO works on ARM. It doesn’t. Check your processor architecture first.
Frequently Asked Questions
Is the Windows 11 download really free?
Yes. Microsoft offers all three download methods at no cost. If you’re upgrading from a licensed Windows 10 install, Windows 11 activates automatically. A clean install needs a valid license key to activate, though you can install without one and activate later.
Can I download Windows 11 without upgrading my current PC?
Absolutely. Use the Media Creation Tool or the ISO. Both let you download Windows 11 without touching your existing installation. You only upgrade when you actually run setup.
What’s the difference between the Installation Assistant and the Media Creation Tool?
The Assistant upgrades the PC you’re running it on, keeping your files and apps. The Media Creation Tool builds bootable USB or DVD media for clean installs and repairs. They serve different jobs and don’t overlap much.
Do I need a product key to download Windows 11?
No. You can download and even install Windows 11 without entering a key. Activation is a separate step, and a digital license from a prior Windows 10 install usually carries over automatically.
Still weighing your options? Start with the complete Windows 11 download authority guide for the full picture, then come back here to pick your method.
Related Guides in this Series
Continue exploring essential tips and companion topics: